Taking Plant Cuttings
Taking plant cuttings is very easy to do and can eliminate the need for obtaining seeds. This is a good idea to do when you come across a plant that you’d like to keep around.

Can Plant Cuttings go wrong?
There is plenty that can go wrong when you take plant cuttings. So I’ll try to make this method as quick an painless as possible.
The issue that has brought me the most grief when making plant cuttings is the environment.
It is very important to keep the growing environment as close to 100% humidity as possible and the root temperature at about 78-81 degrees F for the duration of the cycle.
If you can accomplish this, then you shouldn’t have any problems making healthy cuttings.
When choosing a plant, make sure to pick the healthiest one available.
Healthy mothers give healthy clones.
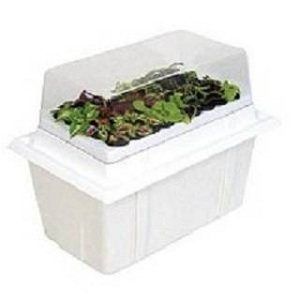
Method #1 Professional Plant Cuttings System

Because of the difficulty involved with cloning, I usually recommend for beginners to use a professional system. There are difficulties to face with which ever system you use so patience and persistence will be required on your part.
The only real difference between this method and the next is the environment the cuttings are placed in. This professionally made system creates a superior environment which is probably why the clones root much faster. Usually 5-10 days. The result is a higher success rate, especially for beginners.
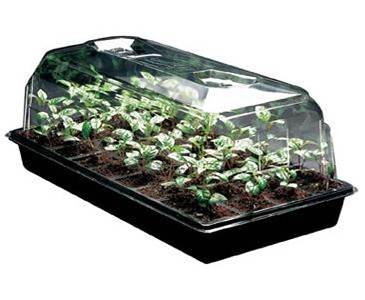
Method # 2 Dome and Tray Plant Cuttings

This “old school” method has been around for a while because it is very reliable. Although the plant cuttings root at a slower pace with this system (usually 7-14 days) it is just as good as any other.
Which ever system you use, the following directions will be necessary for each. When you get to Step 6), that’s when you’ll decide which system to use. The following setup can also be purchased as a
complete system as well.
Supplies:
hand held sprayer
favorite nutrient solution
rooting gel or rooting solution or powder
cloning tray
propagation dome
scalpel or razor
heating mat
rooting cubes or plugs
thermostat
fluorescent light
1gal. pitcher
syringe or
measuring cup
Preparation:
Step 1)
Prepare nutrient solution in 1gal pitcher
Step 2)
Fill tray with about 1 inch of nutrient solution.
Step 3)
Separate a small amount of cloning gel or powder to prevent contaminating or wasting it.
Step 4)
If you are using rockwool cubes, make sure to “pre-soak” your cubes in the nutrient solution you made for the plant cuttings.
Step by Step
Step 1)
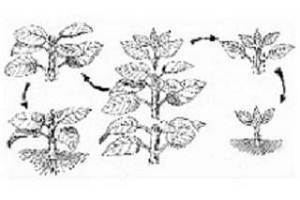
Use razor to cut plant just above the 2nd or 3rd internode. This will allow the mother plant to keep on growing and give you more cuttings in the future.
Step 2)
Leave one to two sets of leaves and place stem in shallow tray under about 1in of nutrient solution.
Step 3)
While the stem is under water, use razor to cut 45 degree angle from the bottom of the stem making it about 2 to 4in long.
Step 4)
Dip stem into gel or powder that you had previously set aside. Use a small amount.
Step 5)
Insert stem into rooting cube or plug.
Step 6)
Insert cube or plug into tray under clear dome.
Step 7)
Use sprayer to mist clones and cover with dome lid.
Step 8)
Plug-in heating mat and set thermostat to 80 degrees F.
Step 9)
Set dome under fluorescent light on an 18hr schedule.
Keys to Success
I usually add a small amount of water on the bottom of the tray to help create a humid environment.
Once you’ve set them up try not to disturb them too often. Just a visual check to make sure there is enough humidity is usually all you will need to do.
As I mentioned earlier, the key to making this work is the environment you create for the plant cuttings.
Don’t worry if you don’t get this the first time.
Taking plant cuttings is probably the most difficult part of the whole gardening process to master, so ultimately you will have to practice.